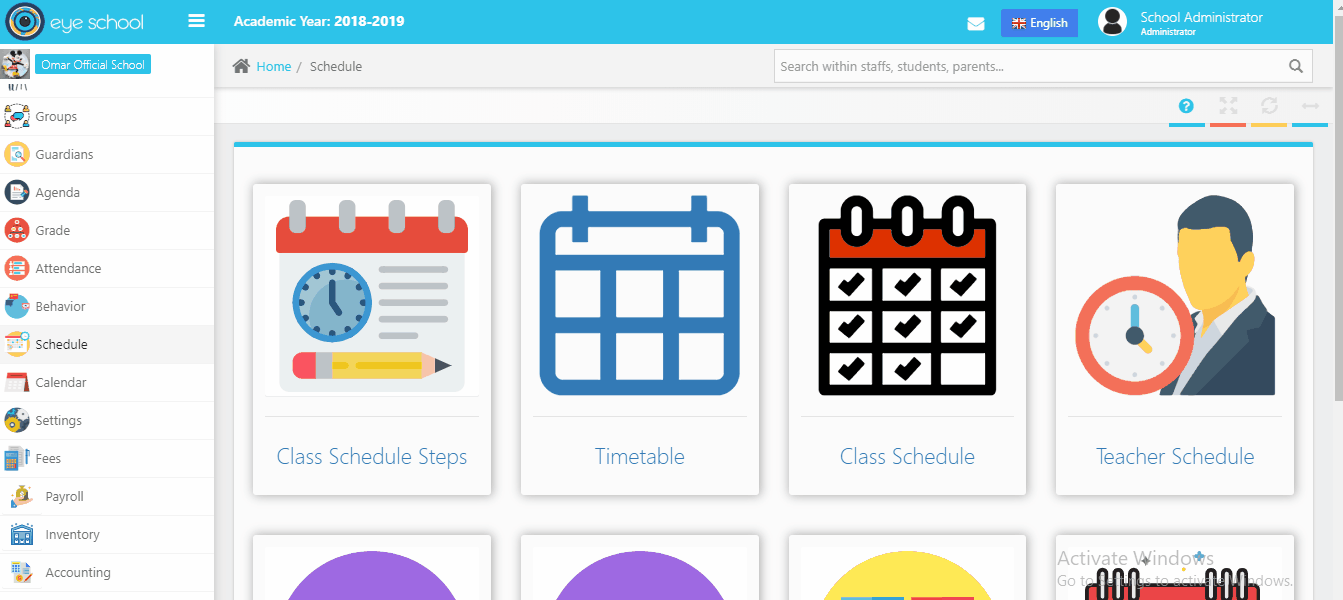
You need this page if you do not have schedule yet, to make the system more effective and have quick steps in user jobs, this page shows how to create class schedule from the beginning to end.
How to use class schedule steps?
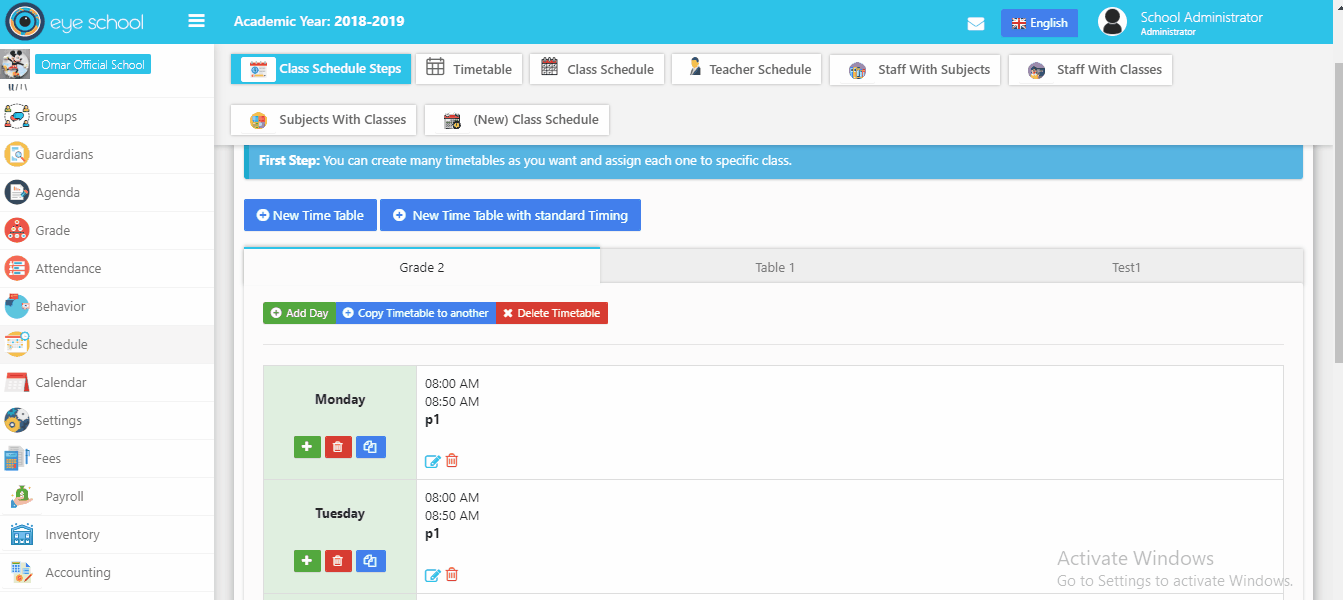
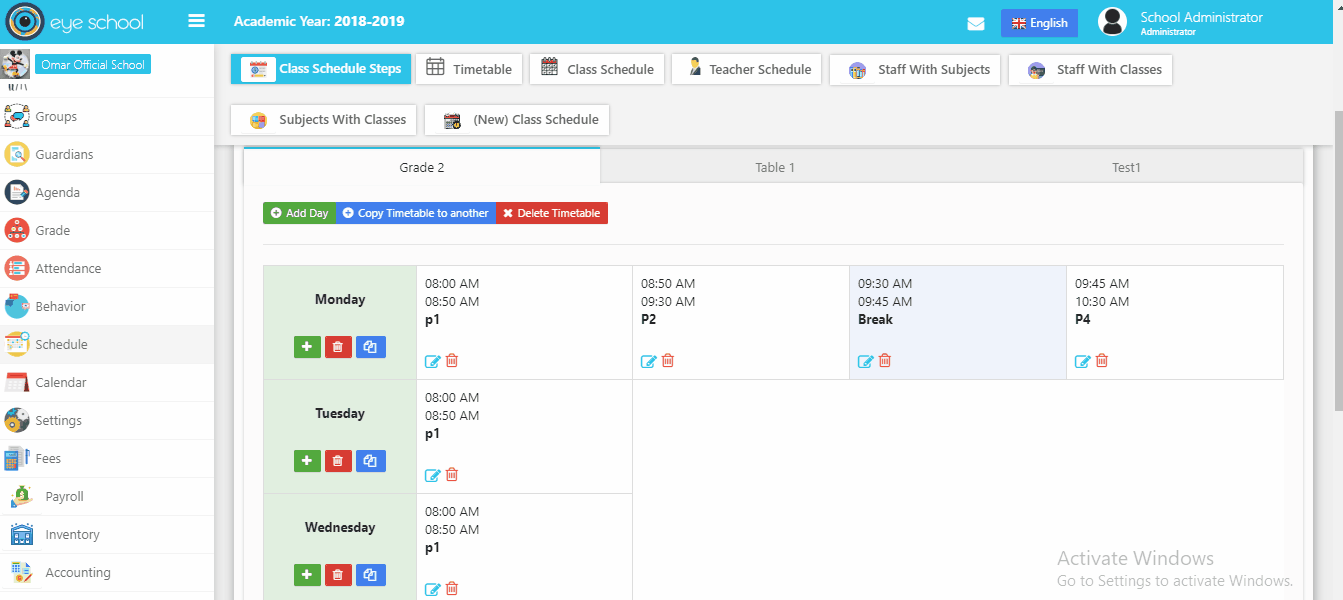
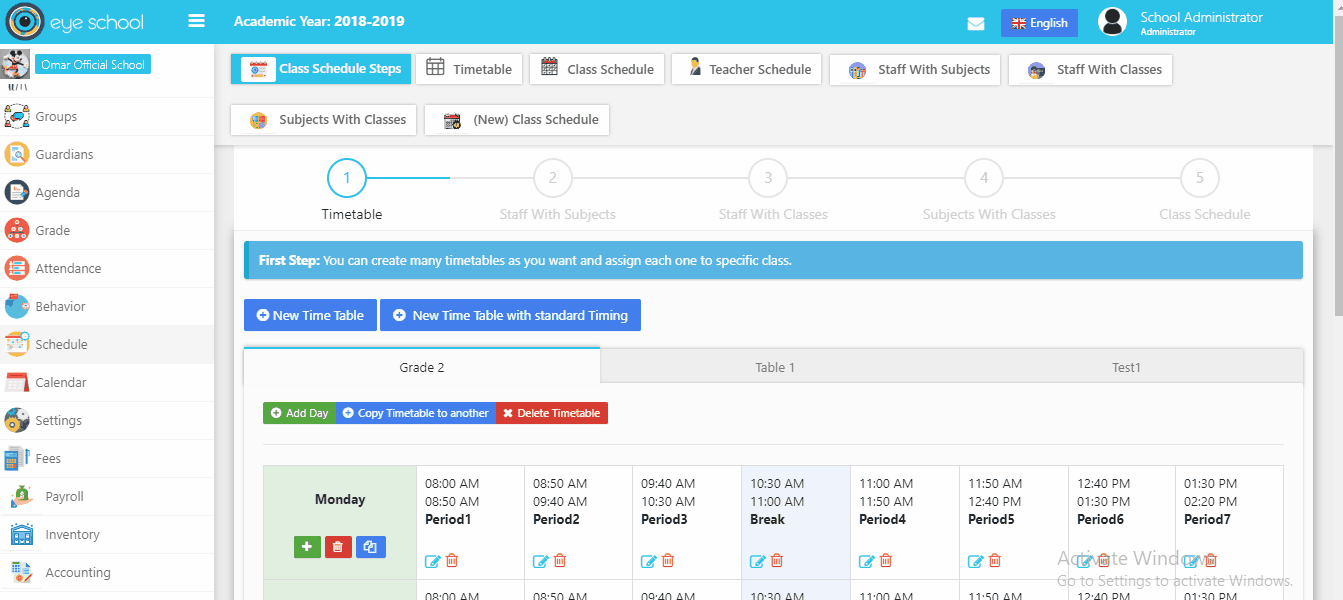
1- First step (Time table)
User can create a weekly schedule for your school or college in minutes using our free class schedule builder. also user can create many timetables for different classes and import from another one.
- Create new time table:
The user can create new timetable and select days of week, with default first period.
- Add new period :
Allows to add new period with select start and end date of it.
- Delete period :
Ability to delete period if the user wants to add new one.
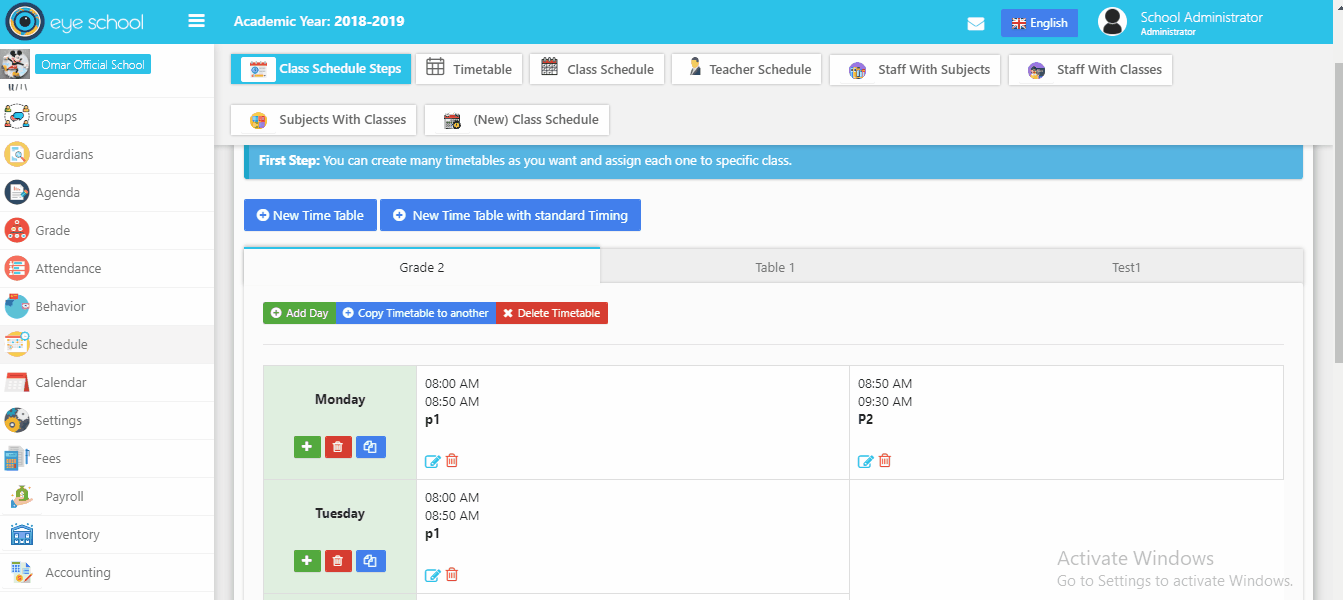
- Make break period :
You can create break periods without scheduling it.
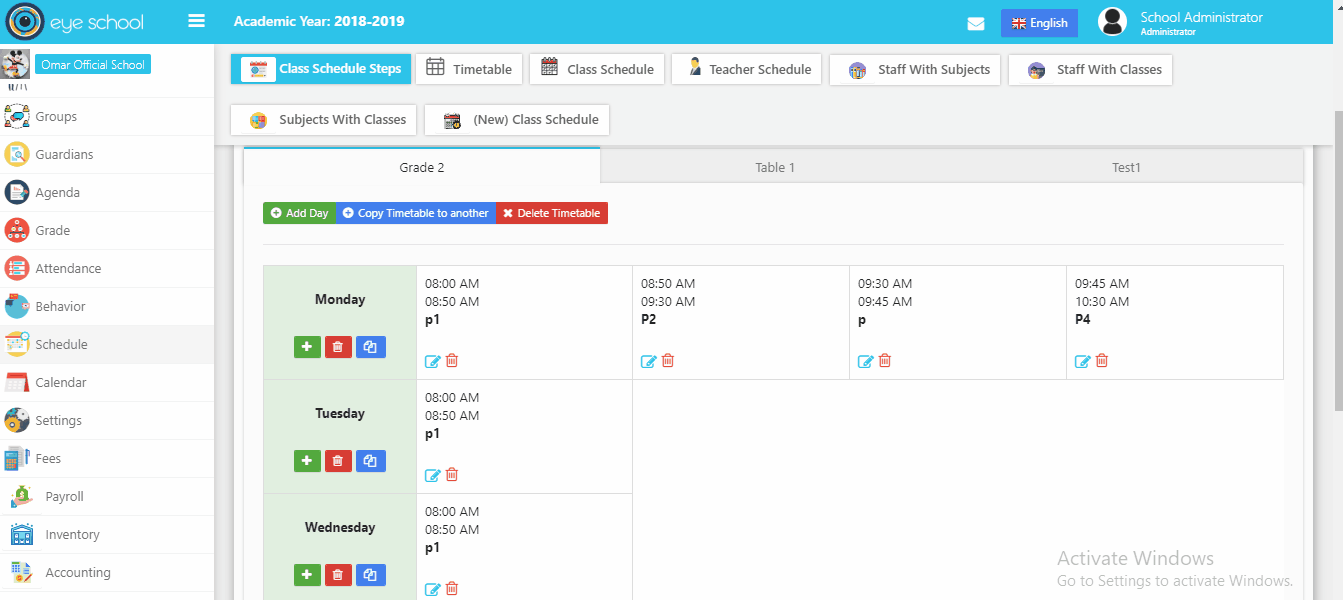
- Import day from another one:
You can import all periods in specific day to another one easily without repeat steps.
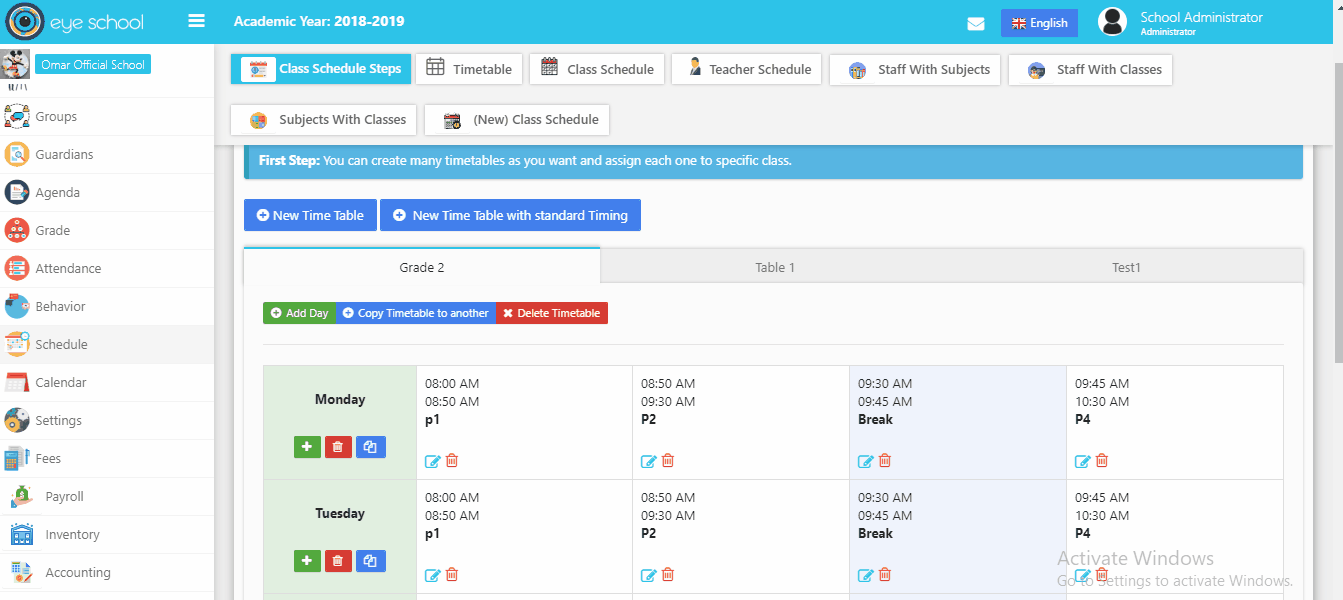
- New time table with standard timing :
The system support time table with default standard timing as an example to use it.
- Copy time table to another :
Also, you can copy your current time table to another new one.

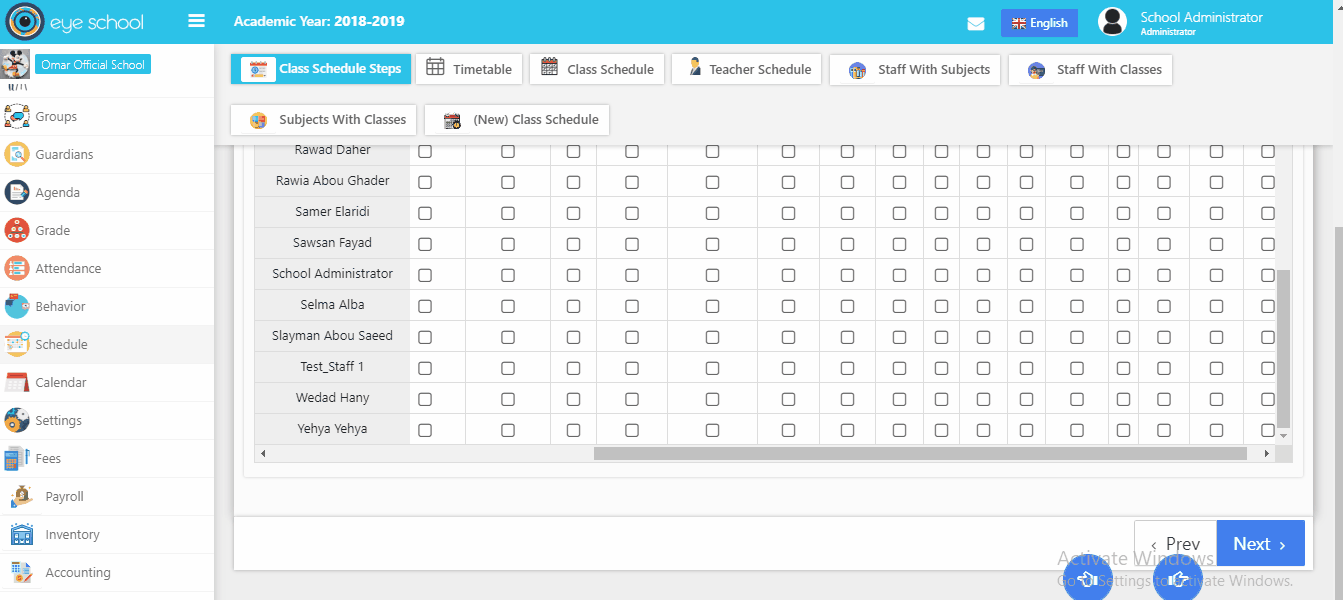
2- Second step (staff with subjects)
Assigning a teacher to a course and classes is ideal because a teacher can filter the Manage Enrollments page by only courses and classes to which s/he has been linked. S/He will then find all of their own enrollments to manage and review. This works best during schools set up sections for each specific teacher. a teacher would see all courses assigned to students in the group, not just courses s/he is responsible for managing.
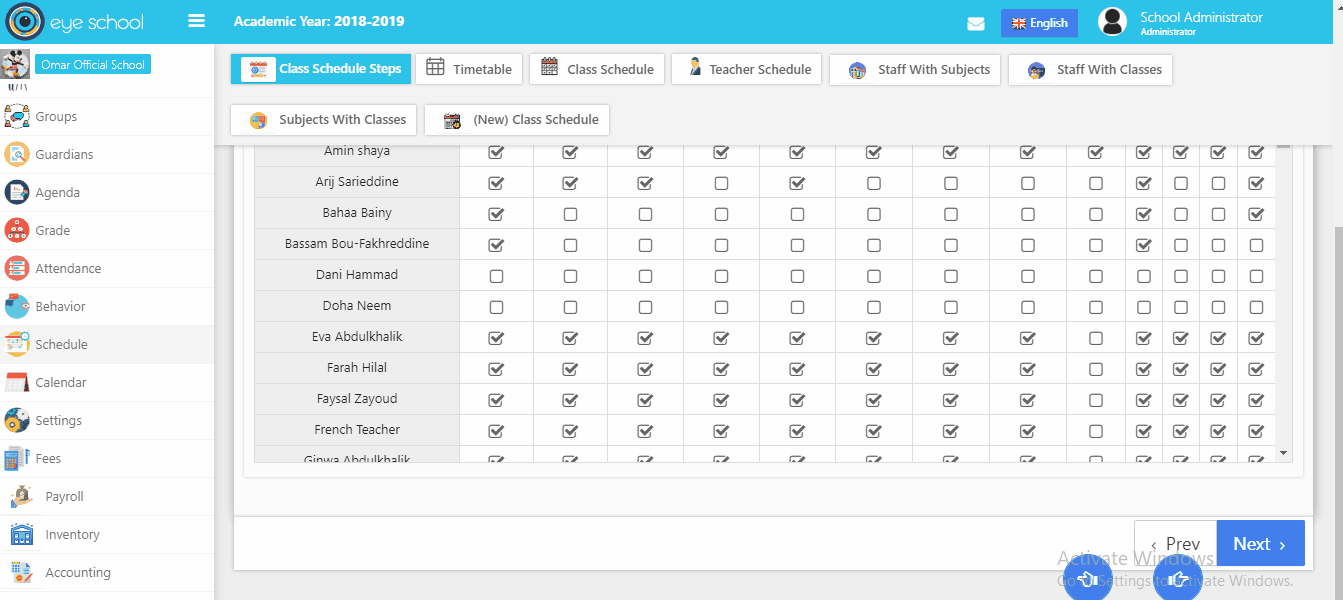
3- Third step (staff with classes)
Assign teachers to their classes by clicking in checkbox as we see below:
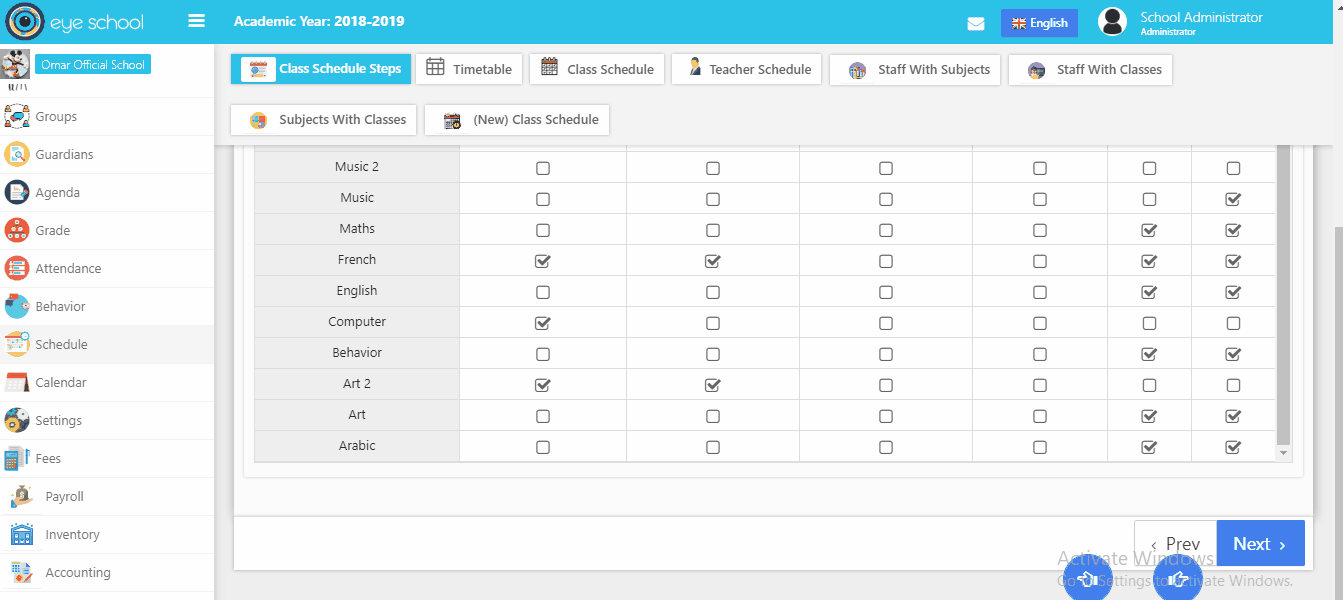
4- Fourth step (subjects with classes)
The system allows to assign subjects enrollment for the classes, which will find all of their own enrollments in grades module.
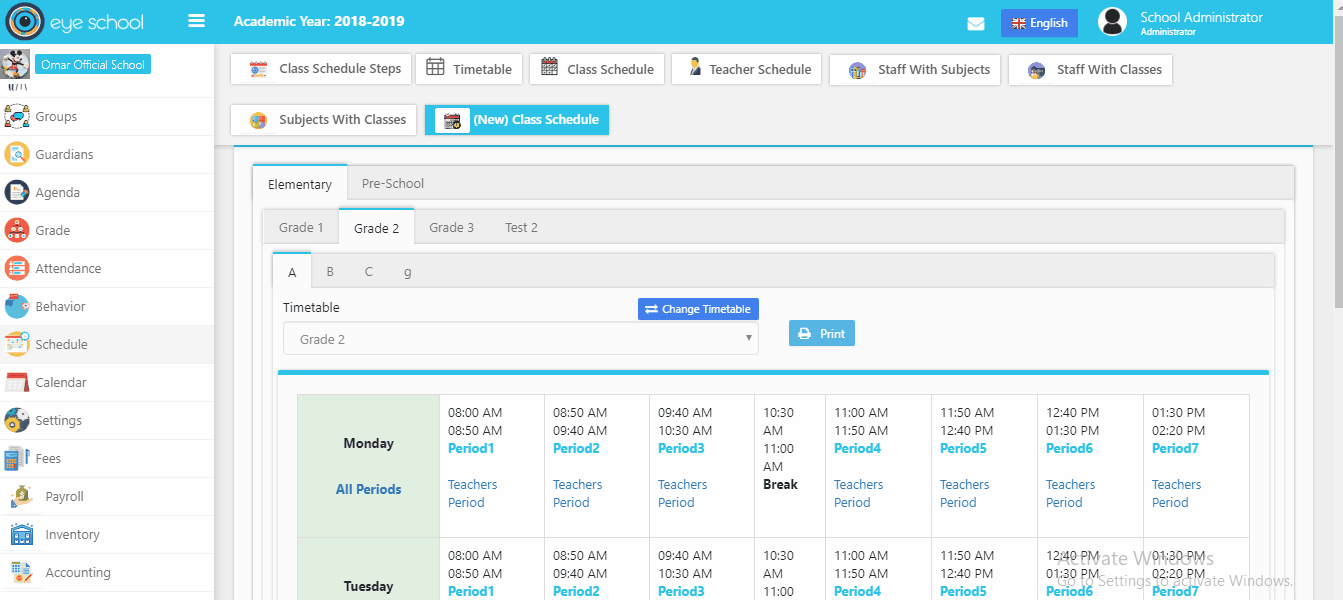
5- Fifth step (class schedule)
In last step, you can create your schedule for all classes and assign each teacher with his /her subject to specific class by clicking in teacher period and it will show list of teachers with their subjects. This step as we see need to many resources to create your schedule for example (time table, teachers, subjects, classes and assign resources with each other).
Look at the example please
- Create class schedule :
You need to click in check box to assign this teach with his/her subject to the period

- Add another subject in same period :
You can add many subjects in the same period for example (English, French) subjects, in the same class.

- Select students:
If you have two subjects in the same period, you can select students whose study subject from another one, which will have related in grades module: for an example: when you exclude student from English subject, the student will not be shown in this subject in grades module.
Note: the two subjects should be having same max mark and pass mark in grades module to active many subjects in same period without effect on calculation grades.
- Conflict with another schedule :
User can insert class schedule for specific teacher is already has the same schedule in different class or section and the system show alert about this case.
