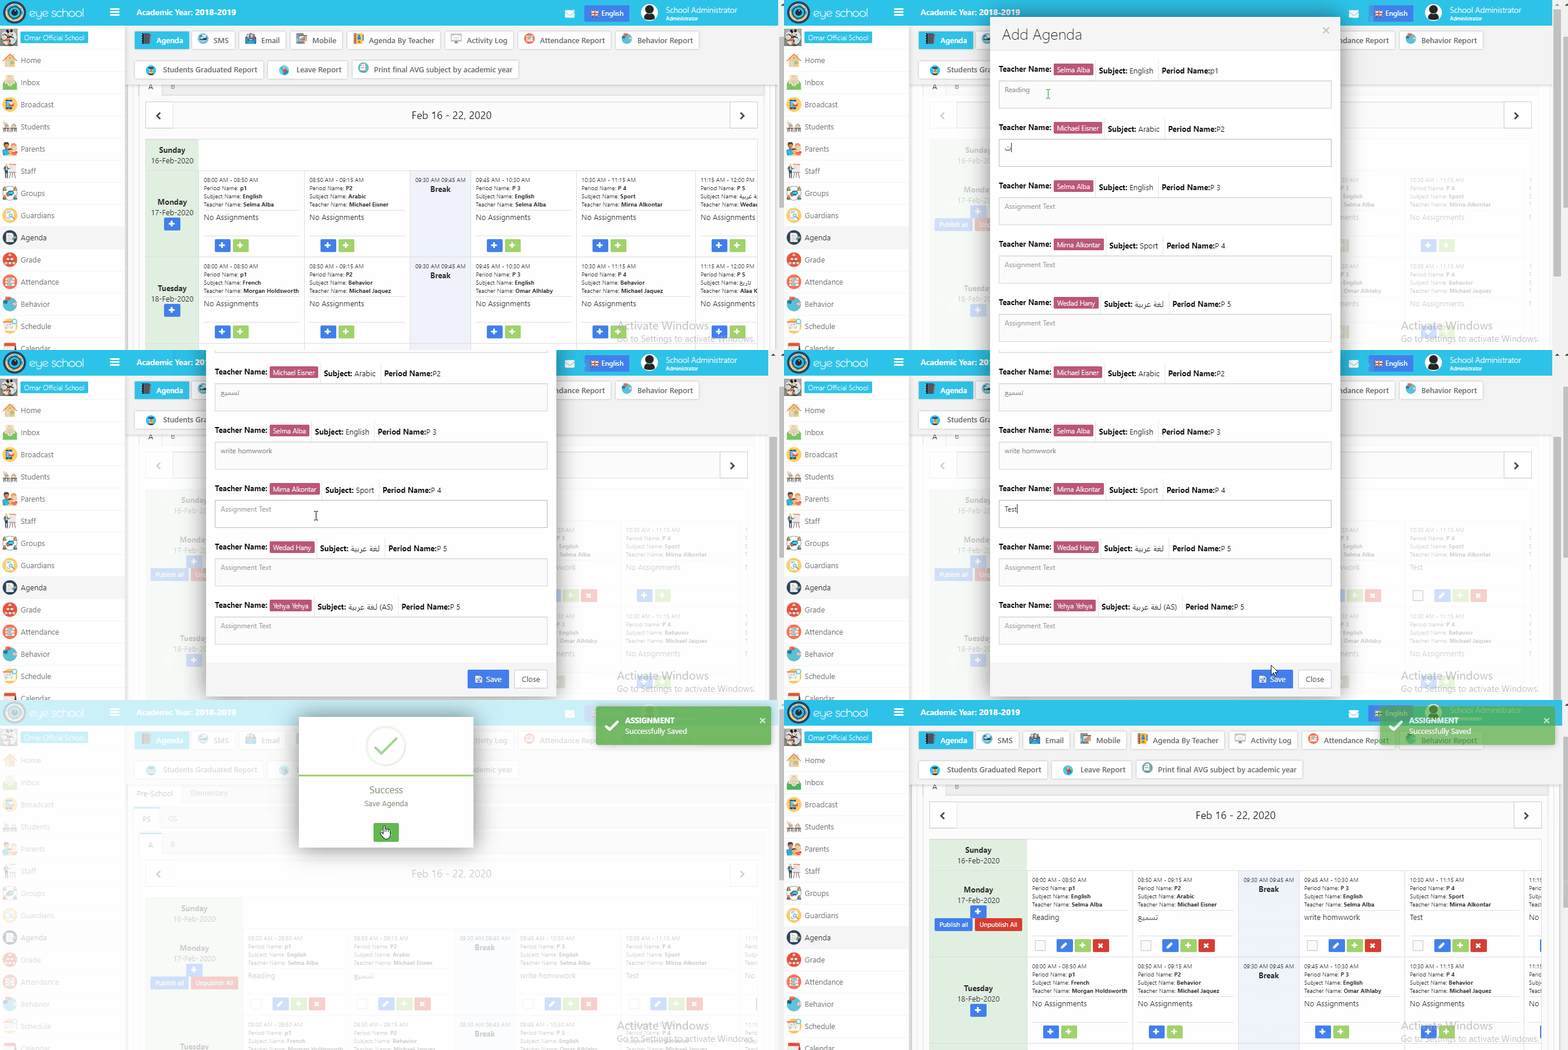
Agenda consists of one module which is separated into many tasks (add agenda, add lesson, view agenda, delete agenda, agenda viewers, publish agenda and make agenda unpublished.

1- Add Agenda:
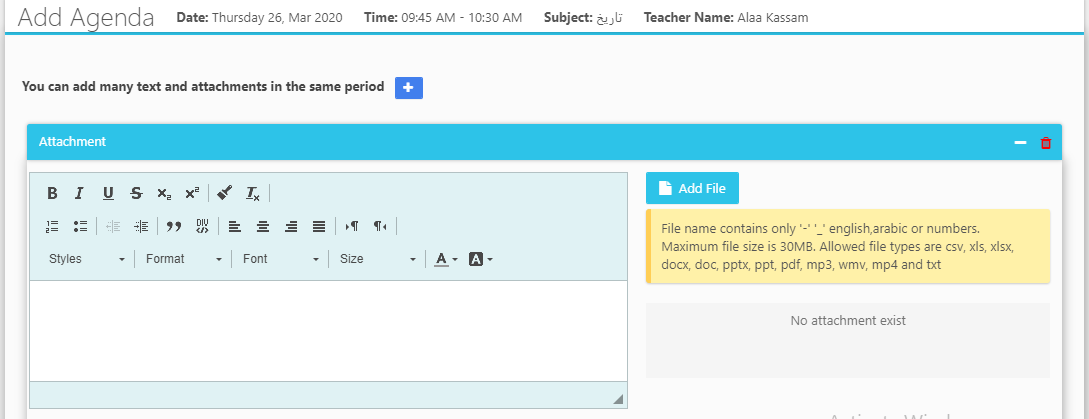
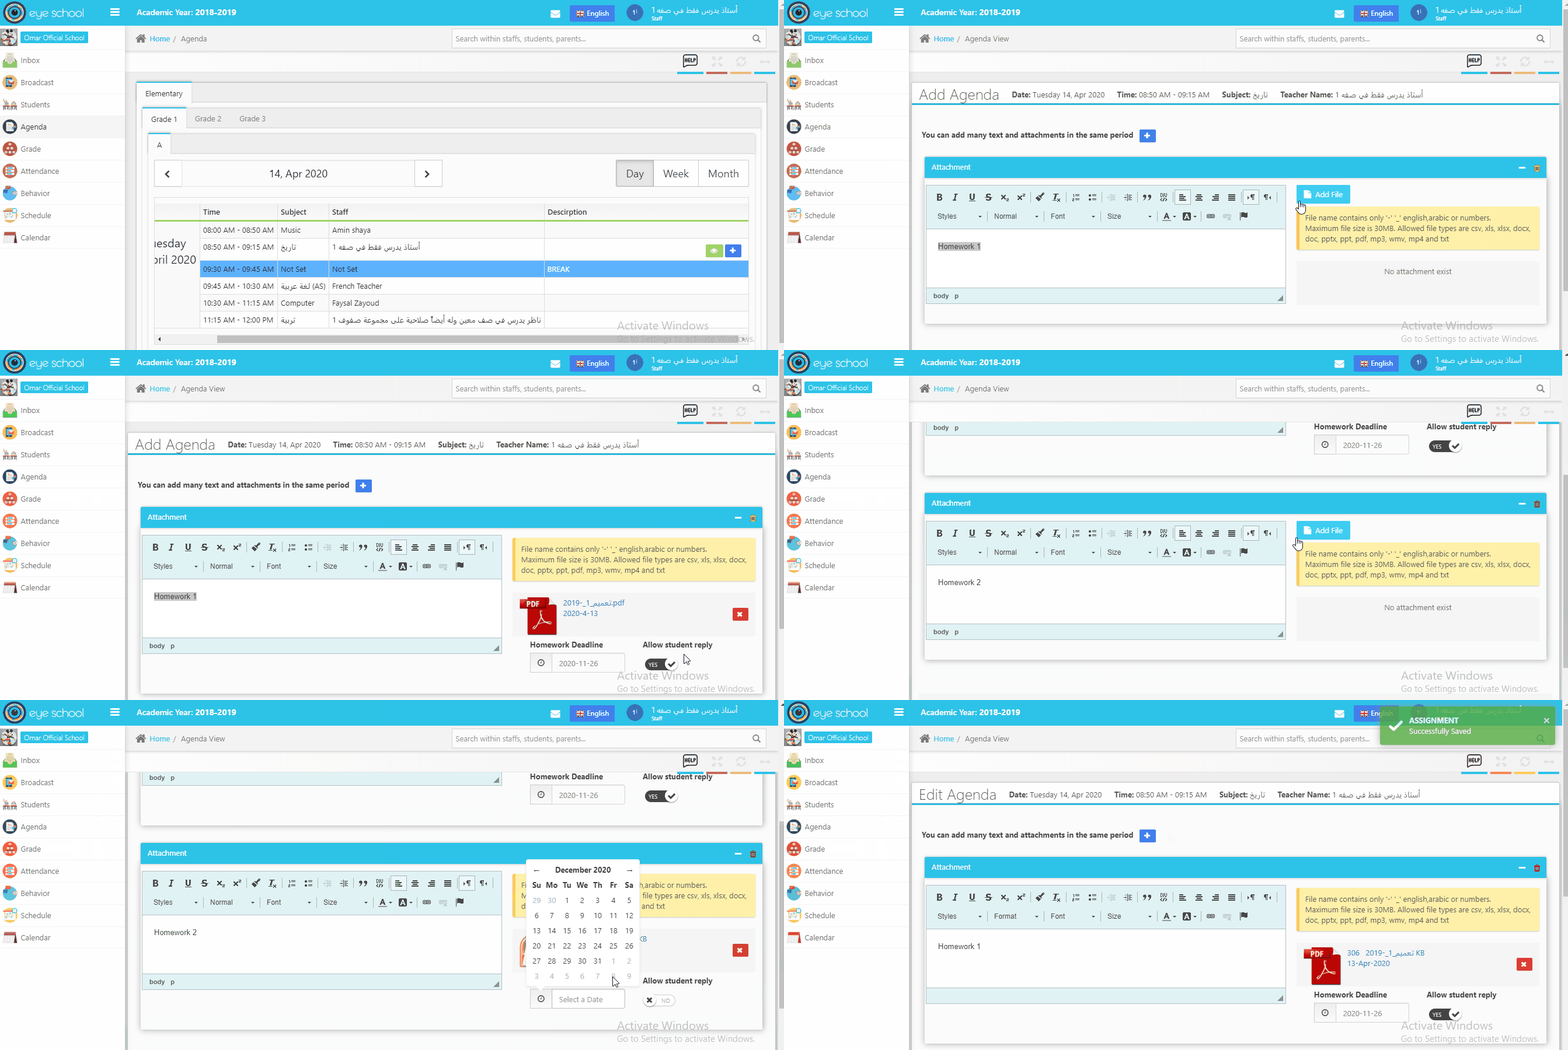
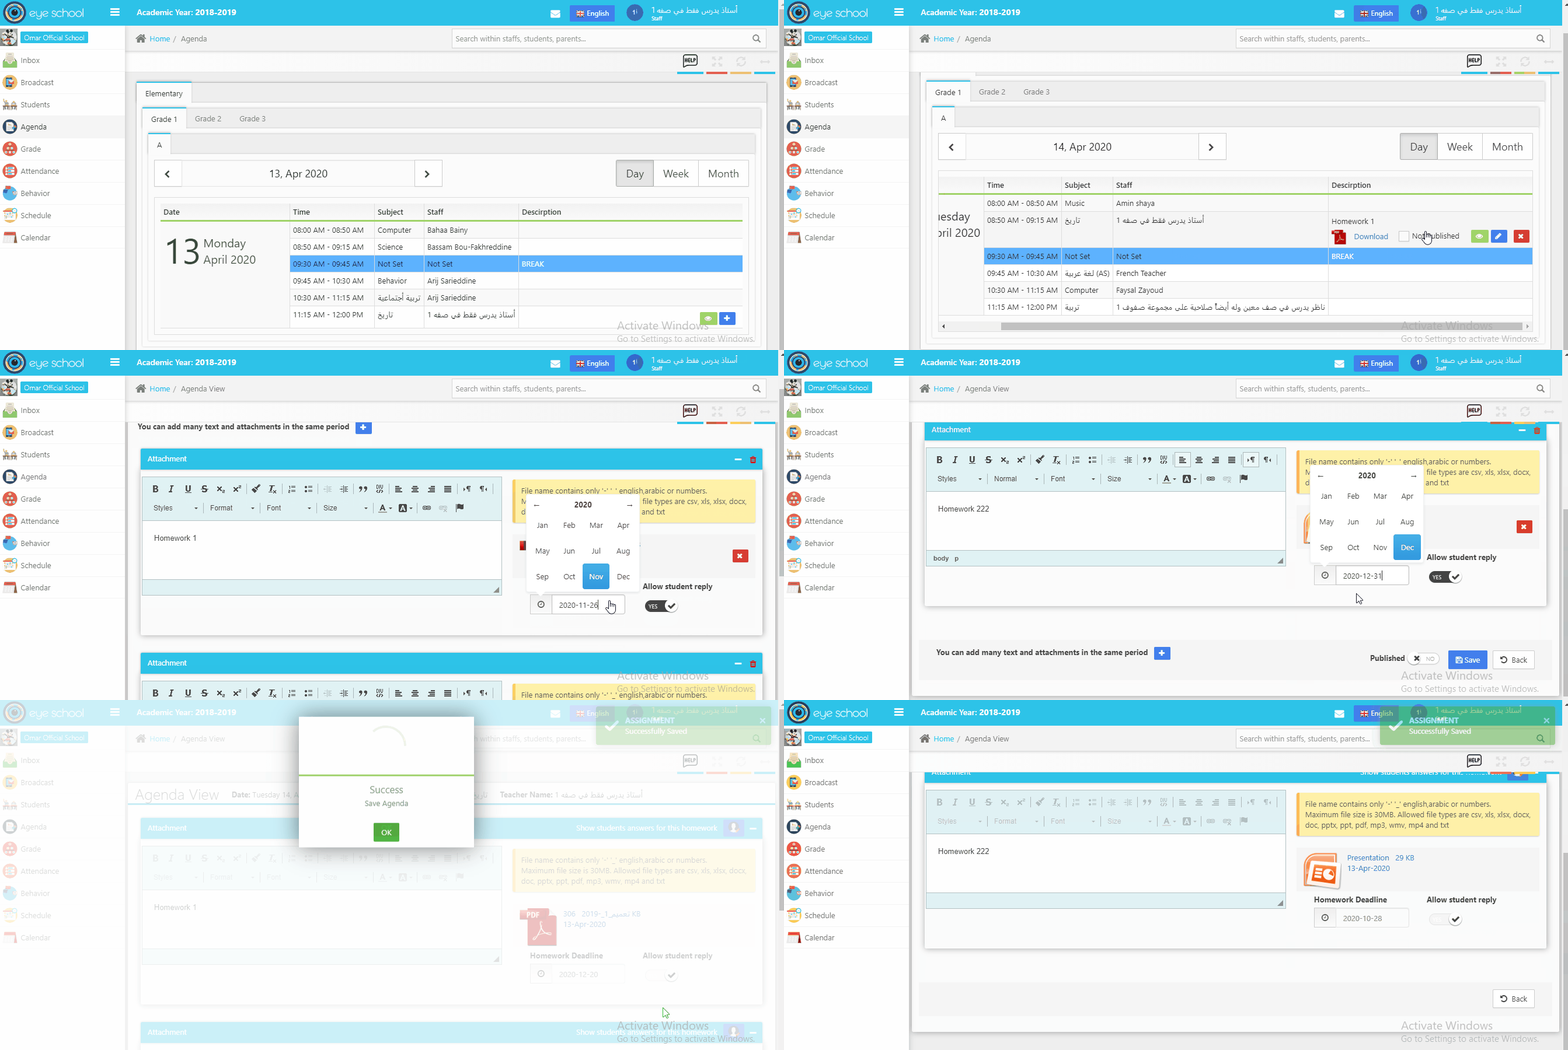
When the teacher opens his /her account and press add agenda, the system will open a new page contains many features:
- Rich text box: it includes a toolbar to select any style teacher need it in his text.
- Upload File: there is an add file button to upload any files with consider to alert message of the name of the file size and extension of it.
- Deadline Date: if the teacher uploads file, the system will show the calendar to select the deadline date of this homework.
- Allow the student to reply: if the teacher uploads file, the system will show the option to the student to reply to this/her homework, the student can answer and upload the file by clicking on it.
- There is a plus button to add another homework to this period and the same features.
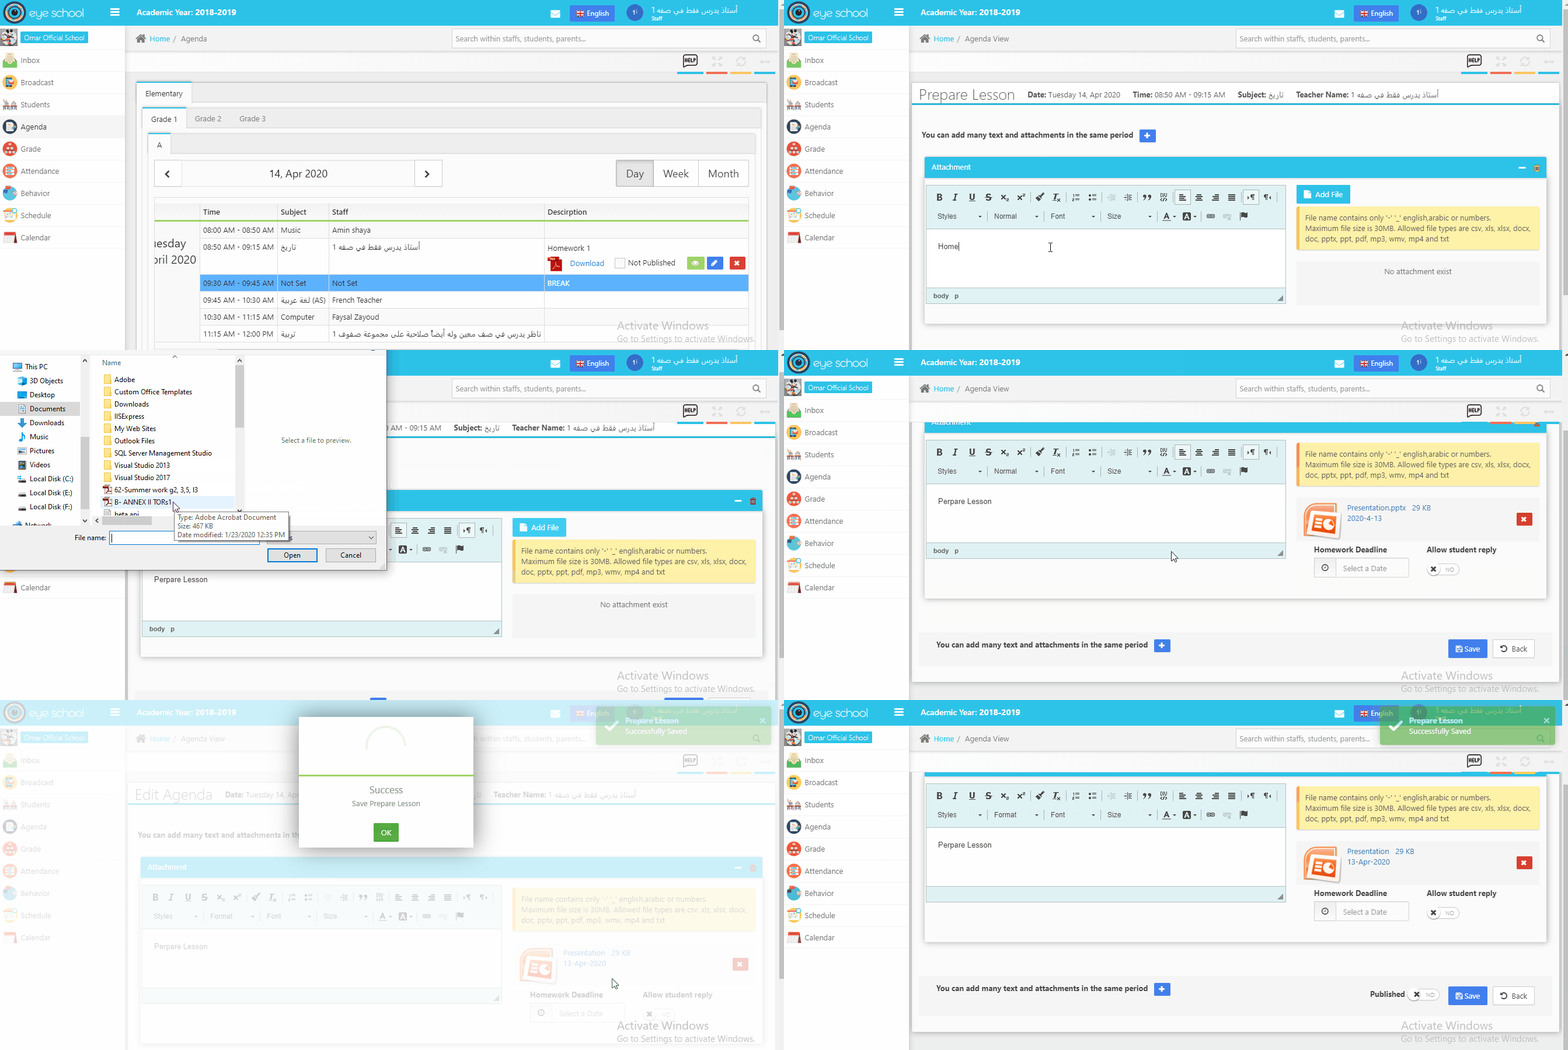
Note: The same page and features are being available to prepare lessons.
Process add agenda with many attachments: Please show the video below
2- Add prepare lesson: In the agenda module, click the green plus icon to add what teacher is preparing. A New window will appear with the following details, Date, Time, Subject and Teacher Name.
3- Edit Agenda:
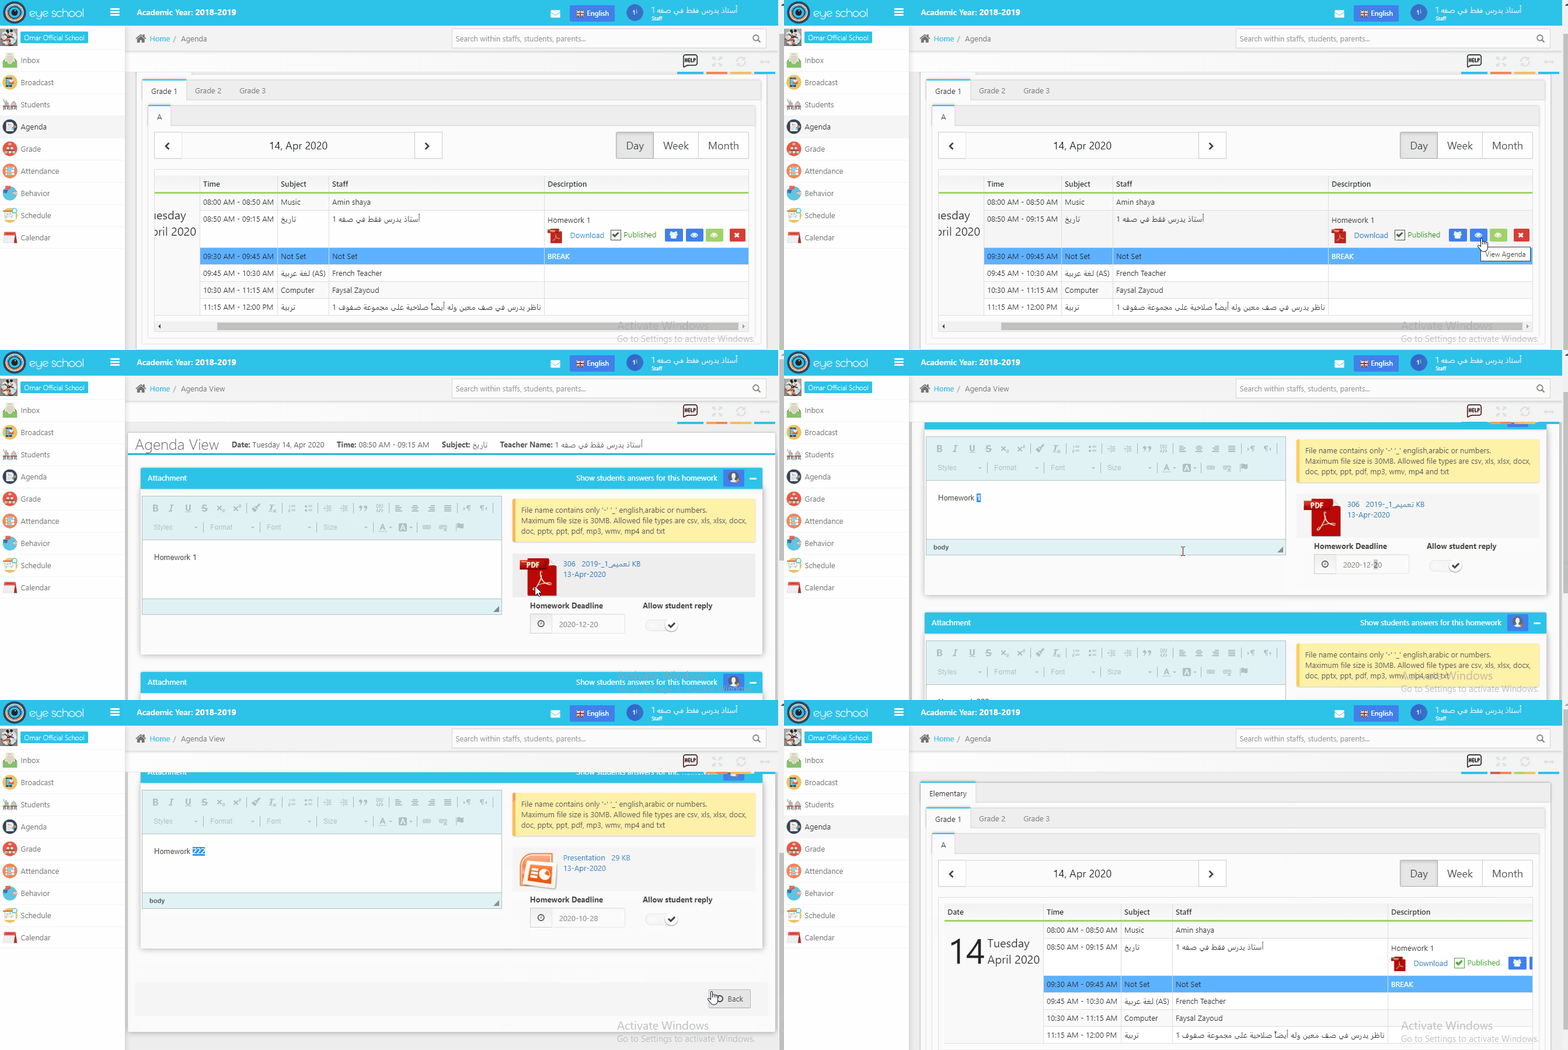
The teacher can edit the agenda attachments before publishing it, for example (edit file, deadline homework, and assignment text). Note the user can’t edit the agenda once it’s published. In case we need to edit the agenda, we must unchecked the publish box in order to get access to edit agenda
4- View Agenda:
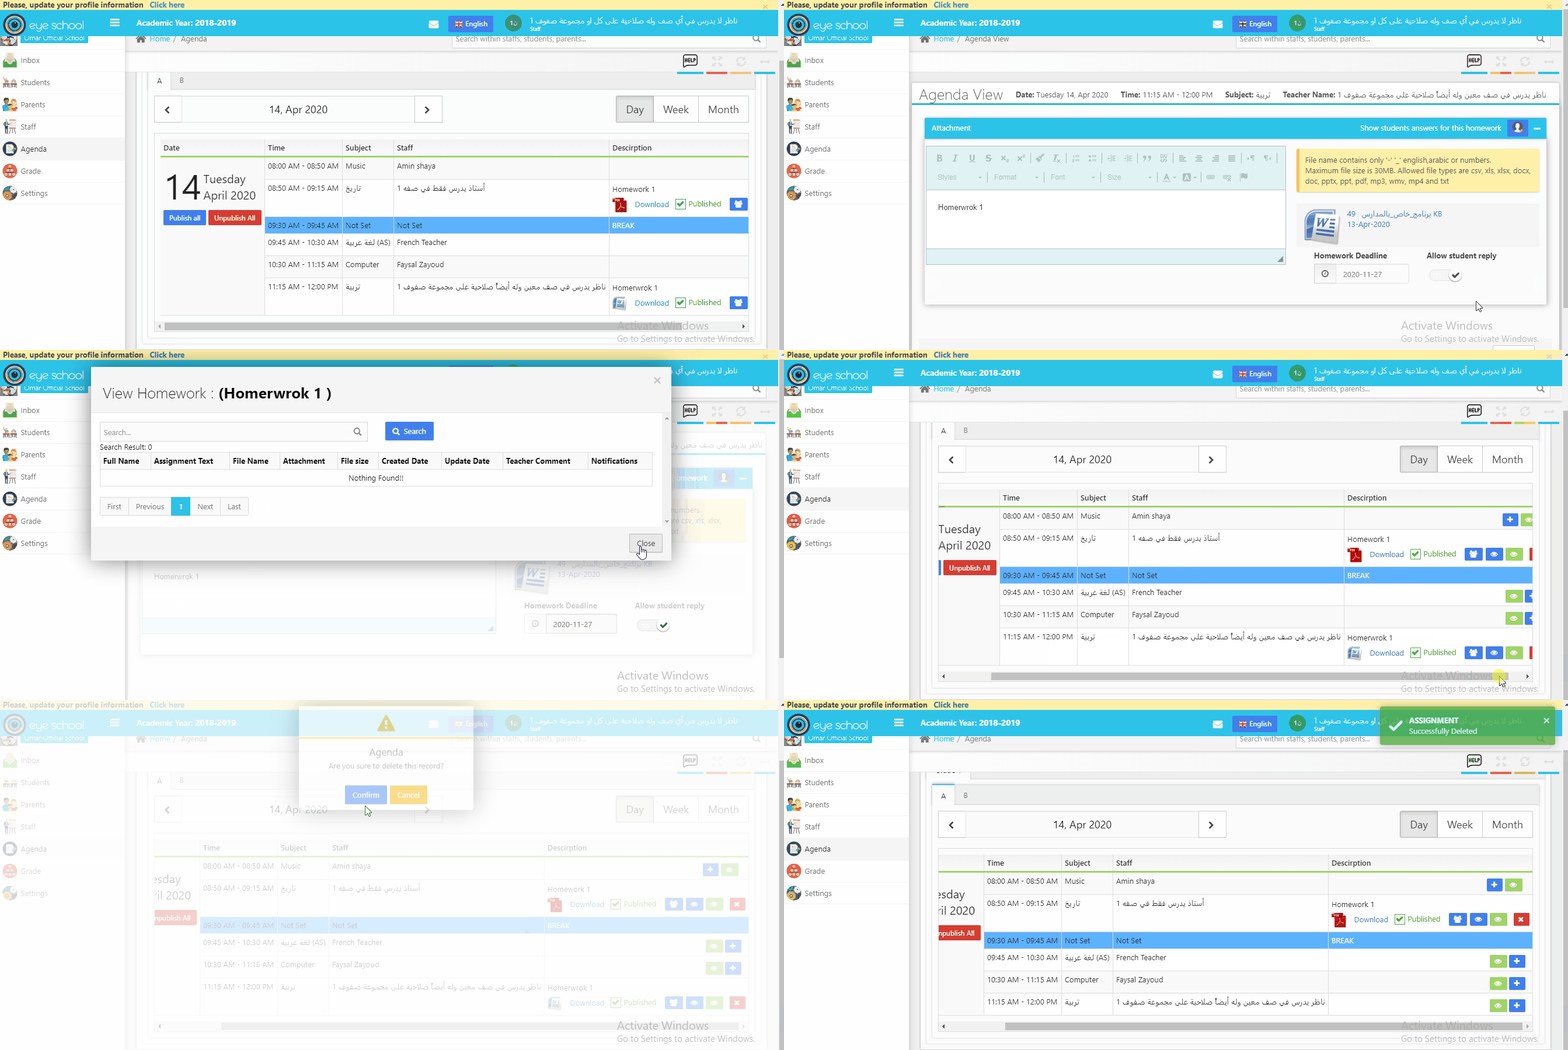
The teacher can review added Agenda after publishing it, to verify the data which will be showing on student agenda page.
5- View Student’s Answer:
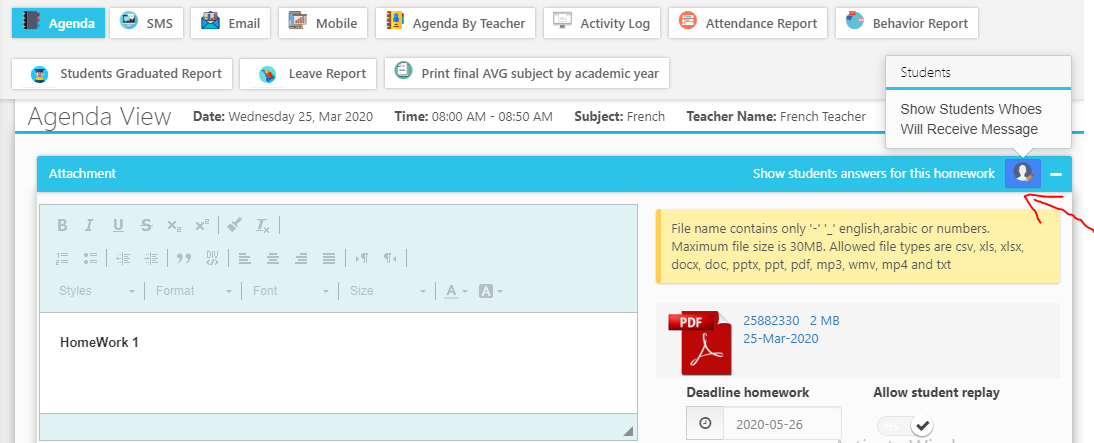
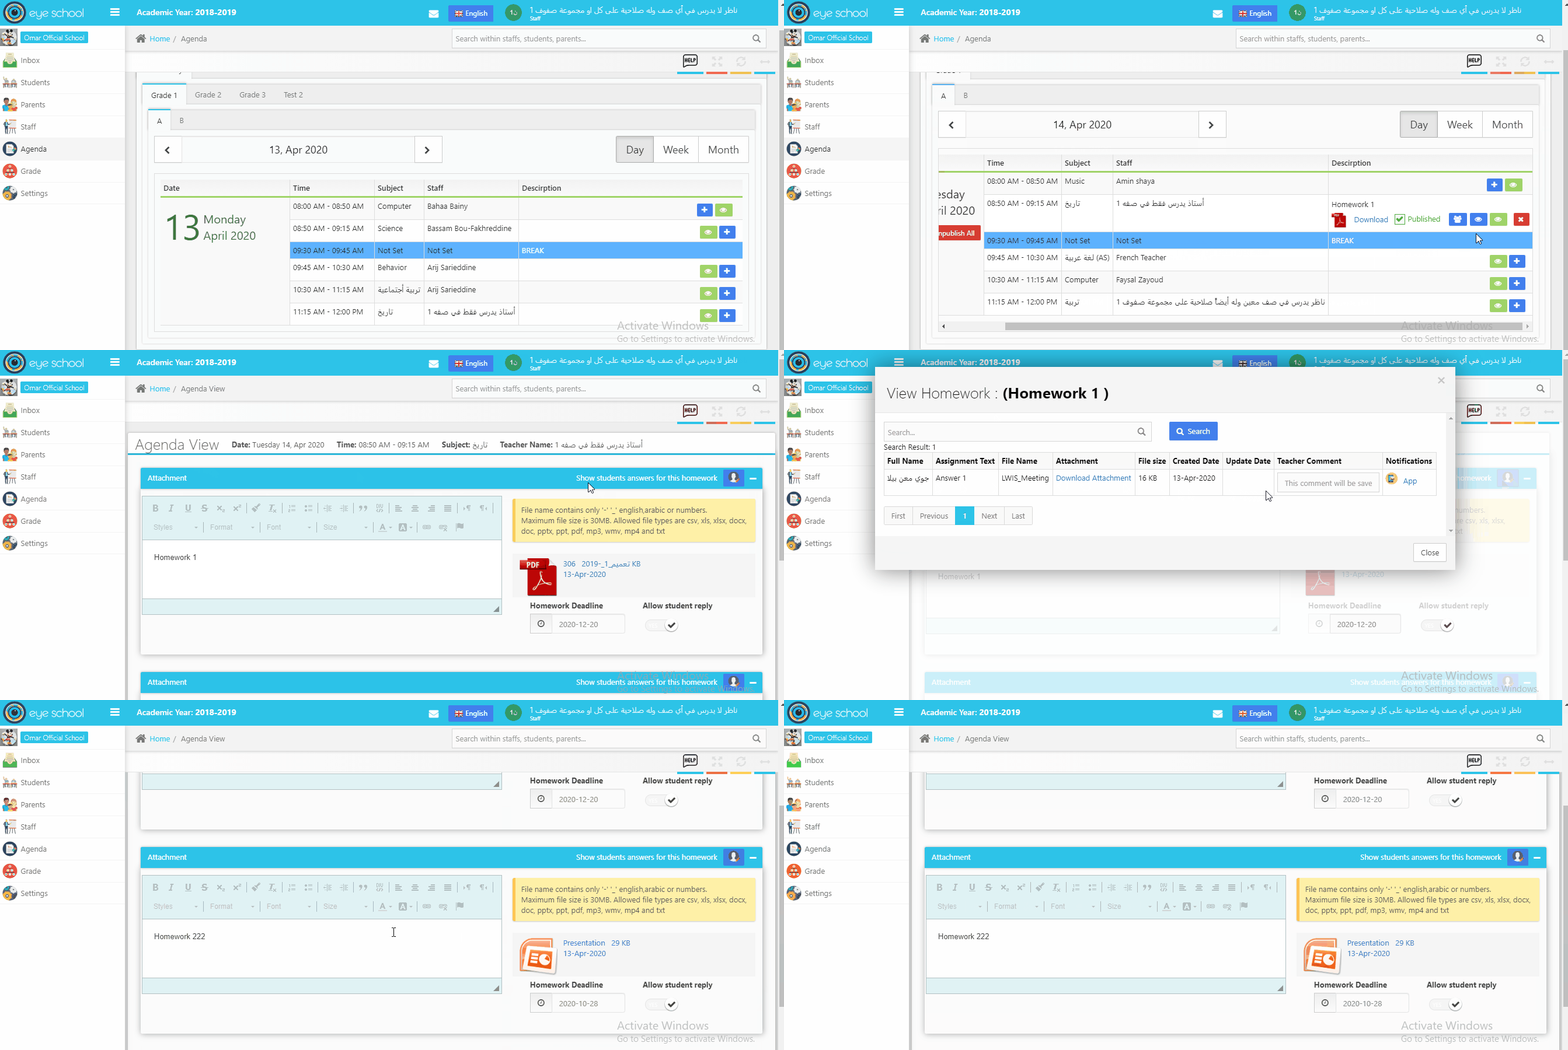
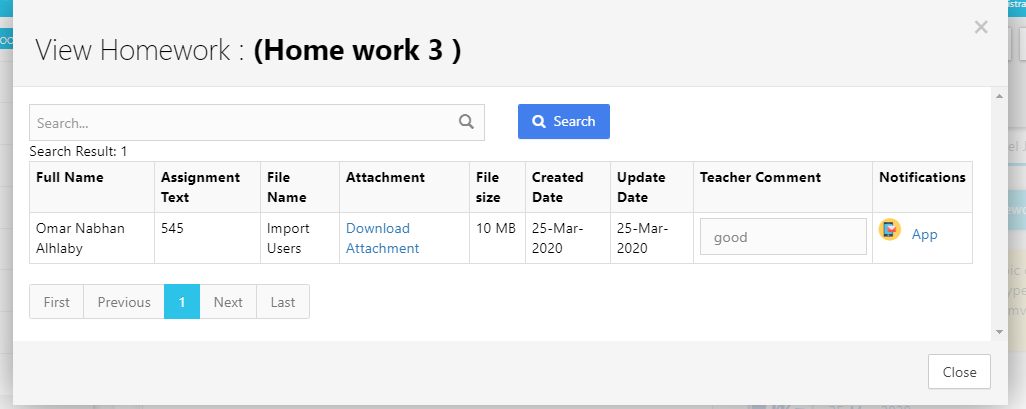
When the teacher publishes his/her agenda, it will be visible in students’ accounts, and the teacher can view whose students replied for each agenda with new popup window contains a list of information: (Student full name, Assignment text, File Name, Attachment, File Size, Created date, Update date)
Please show the video below to more details:
6- The teacher sends the comment:
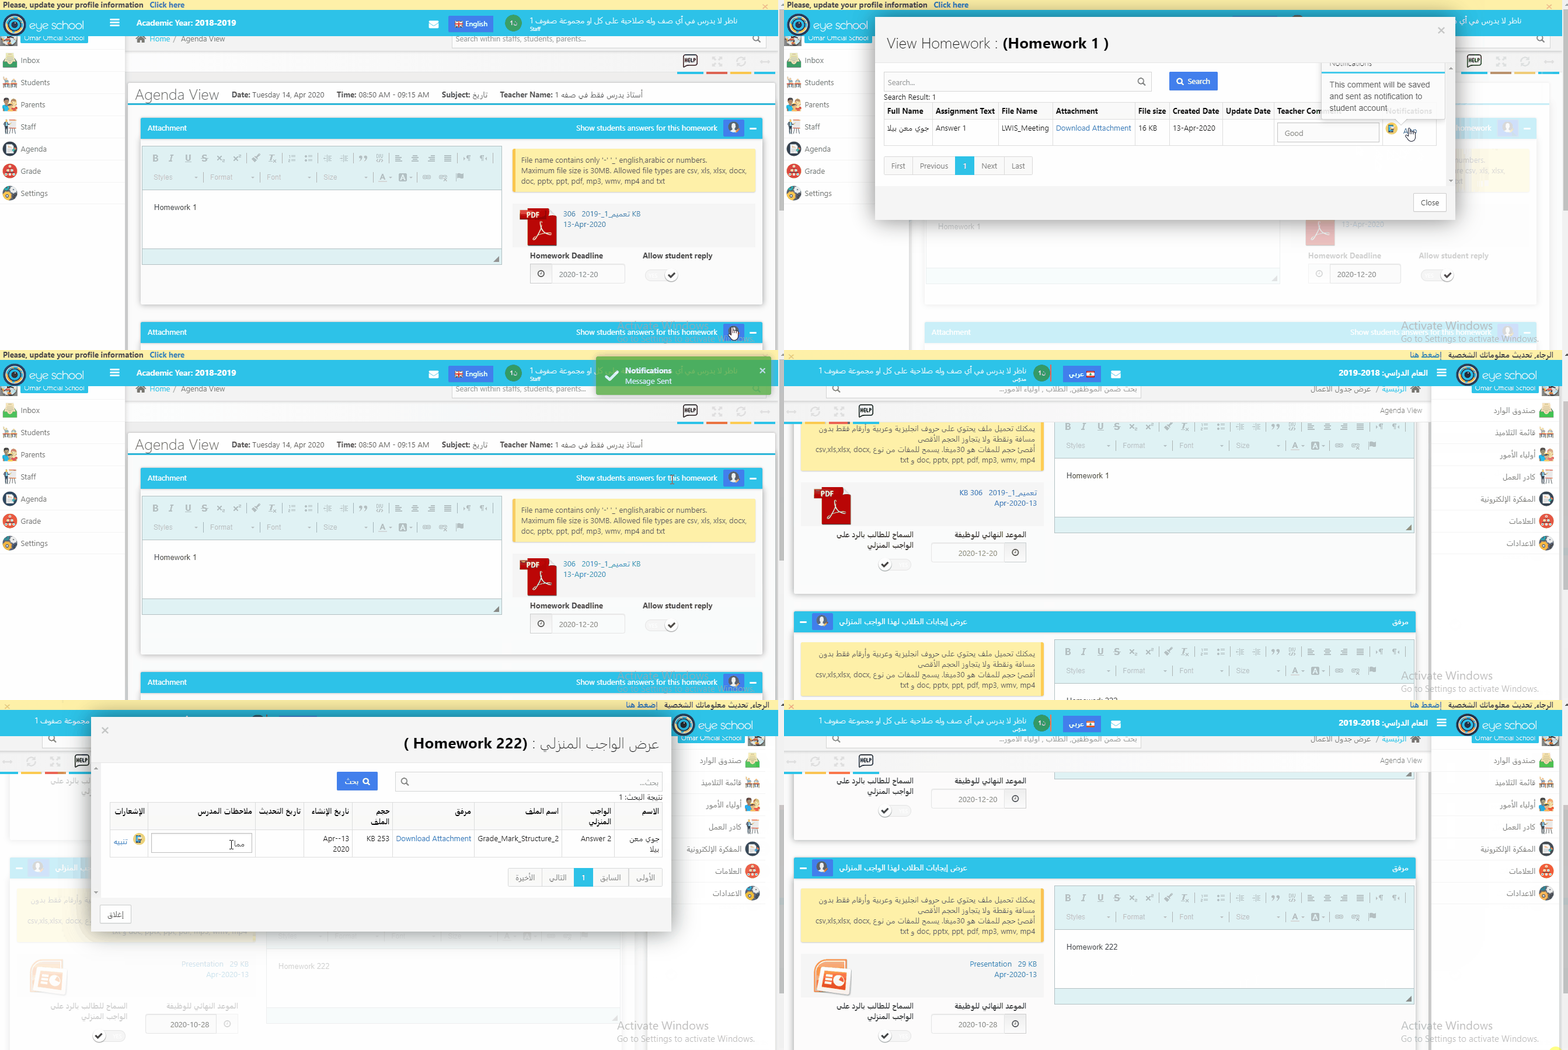
The teacher can write his/her comment for student reply for each homework for example (good, excellent, the mark of homework, any note) and send the comment to the student account as a notification (APP).
The teacher can download the attachment of the student and reply to the student via writing his comment in the assignment and send it as a notification(APP) to his/her account.
The message will be sent in English languages with the following format:
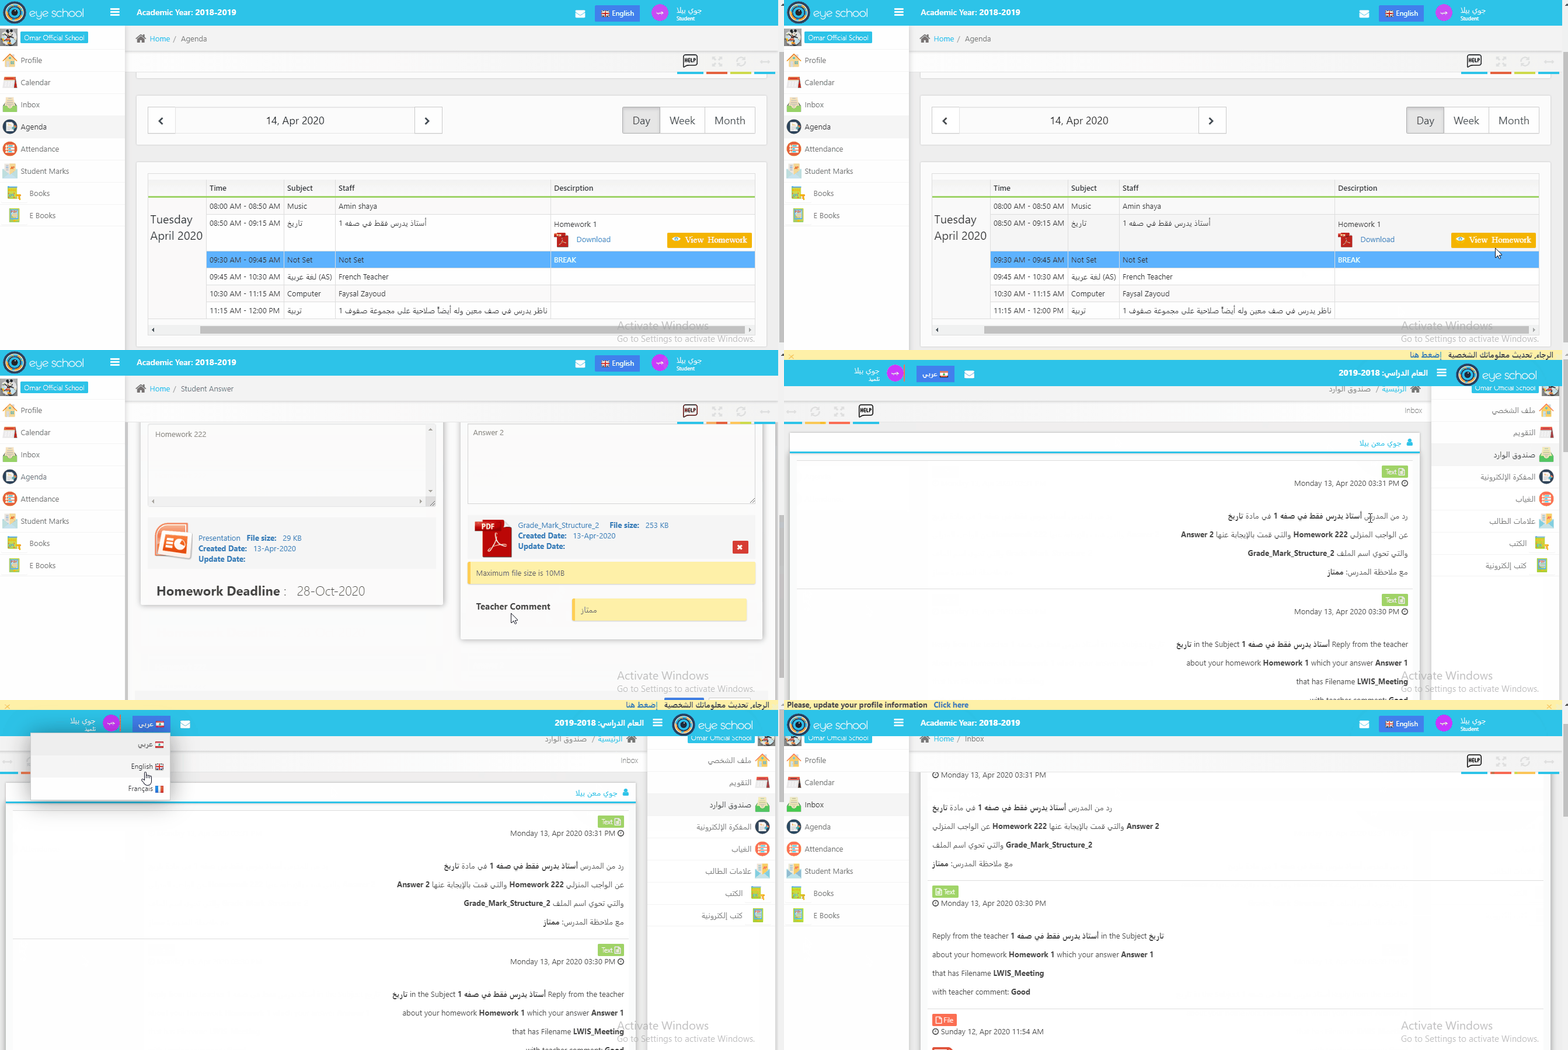
“Reply from the teacher ‘teacher name’ in the subject ‘subject name’ about the homework ‘Name of the homework’ which your answer in filename ‘student filename’ with teacher comment: teacher comments’“;
Note: When the system is Arabic languages and the teacher sends his/her comment, it will receive the student account as the previous format with the Arabic language.
Please show the video below to more details;
The student can show teacher comment in inbox page or in agenda homework.
7- Delete Agenda:
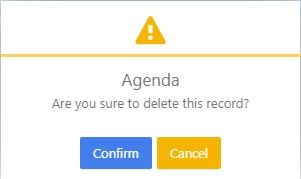
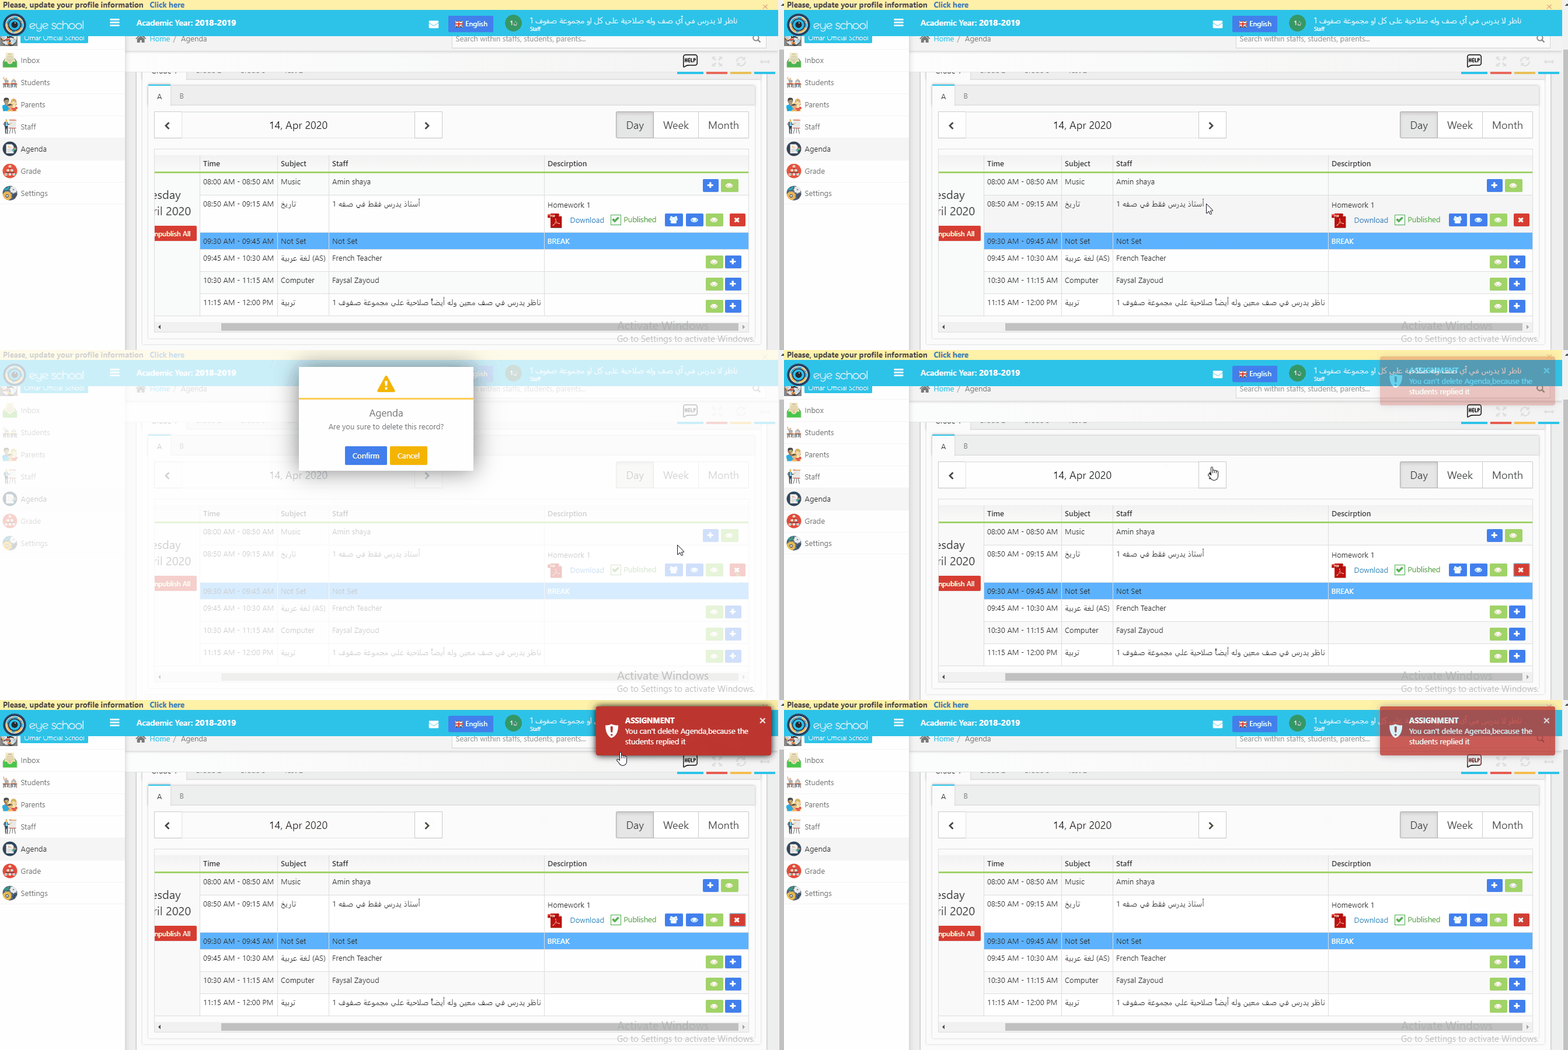
After pressing the delete icon, a confirmation message will appear in a new popup that allows users to delete Agenda.
Note: if the students answer on agenda attachments, you will not able to delete the agenda again.
If the agenda does not have any reply from any student yet, the teacher can delete it.
8- Agenda Viewers:
Allows the teacher to monitor who reviewed the Agenda from Students and/or parents. By using view button
9- Publish and unpublish:
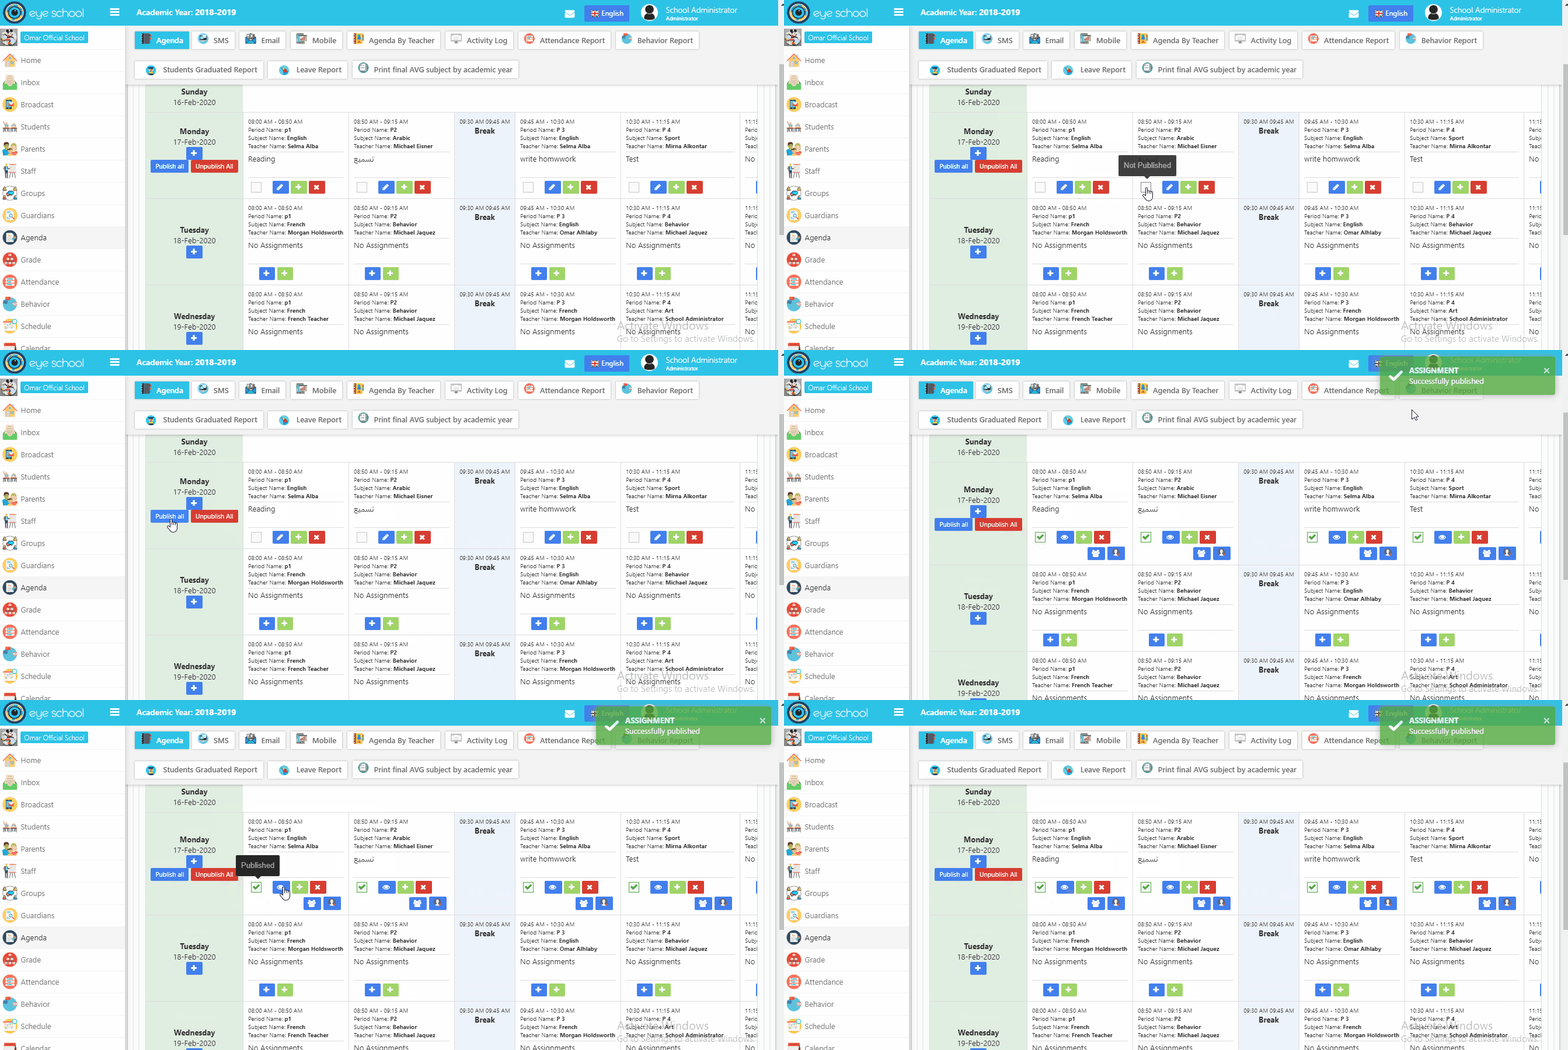
These two icons allow users to publish or un publish Agenda in all periods. But the user should have permission (approve agenda) to allow publish or not.
You can publish only one period with should has permission (allow publish).
10 – Add Agenda to all periods:
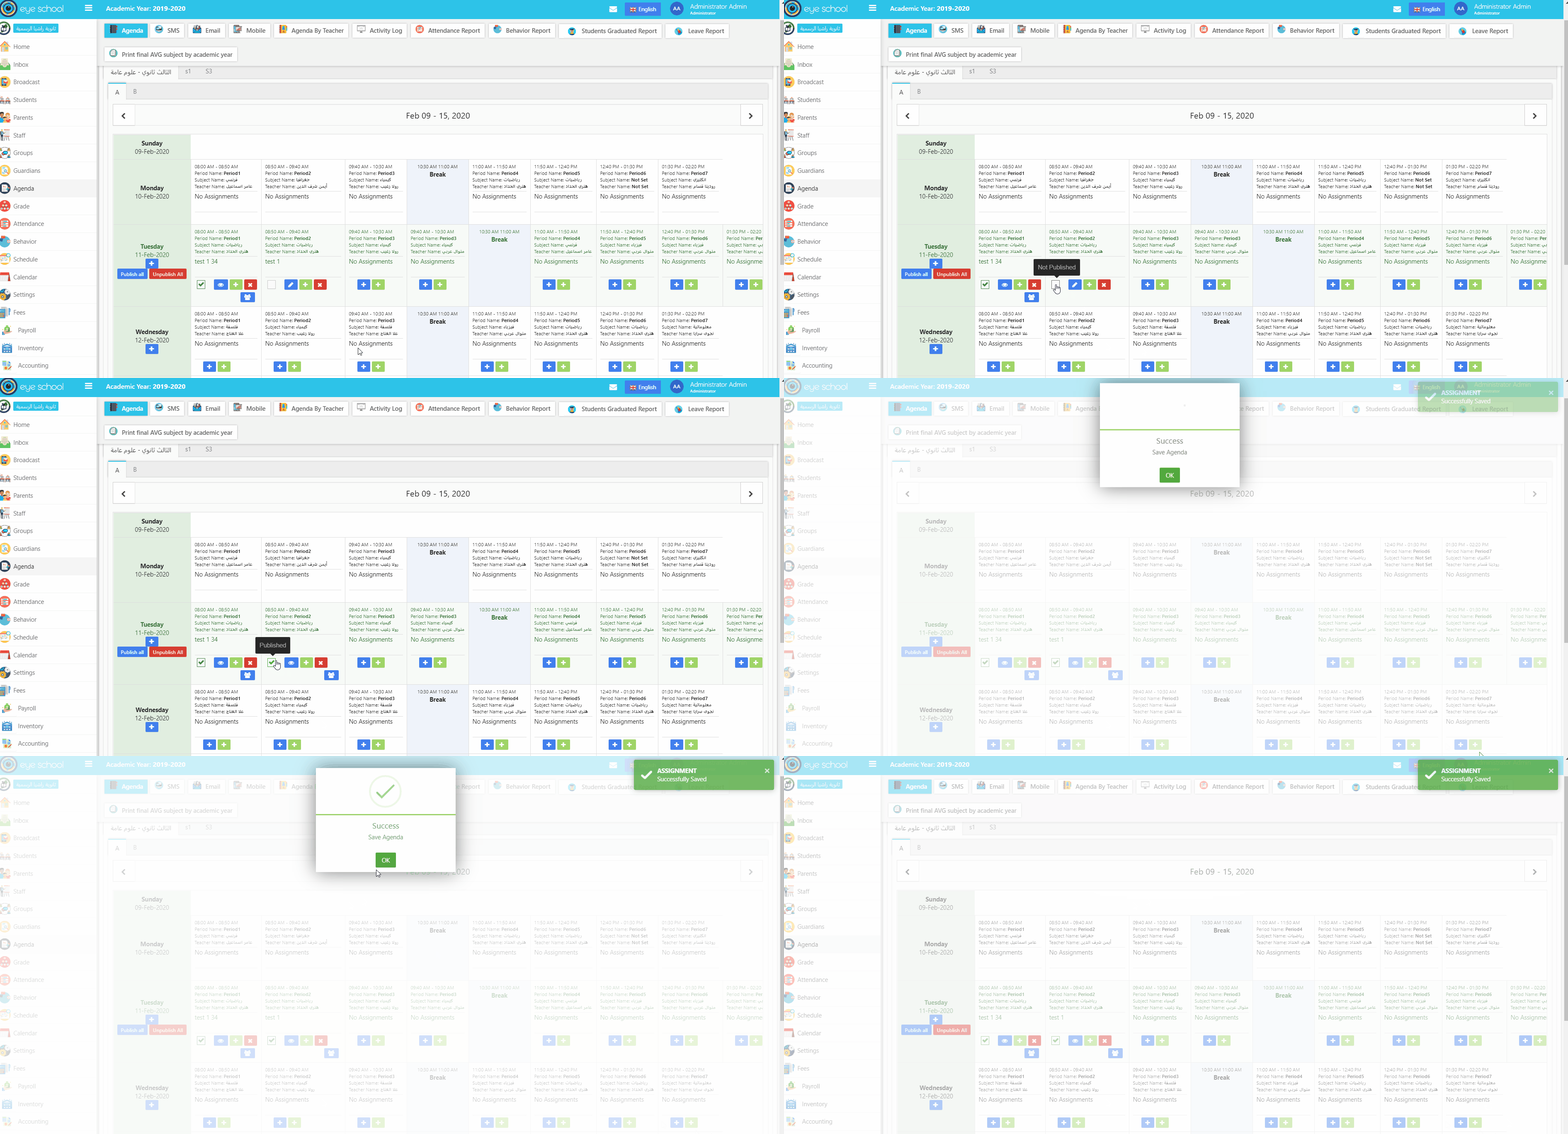
The administration can add agenda all periods for one day by using the plus button which under the name of day and date as we see below:
